Are you a beginner or an expert in the kitchen? Knowing how to grease a cake pan is an essential skill every baker must learn.
It prevents your pastries from sticking to the pan. It also ensures that it comes out easily and beautifully. The following guidelines will help you consistently achieve perfectly greased tins and delicious treats every time.
Types of Grease
Walking through a grocery store’s baking supply aisle, you will see several greasing products. Choosing the best option to use for your cake pan may seem daunting. While they all serve the same purpose, one may be better suited for particular cakes than others.
To help you pick the best solution for your next culinary project, we’ve listed the types of grease and their descriptions.
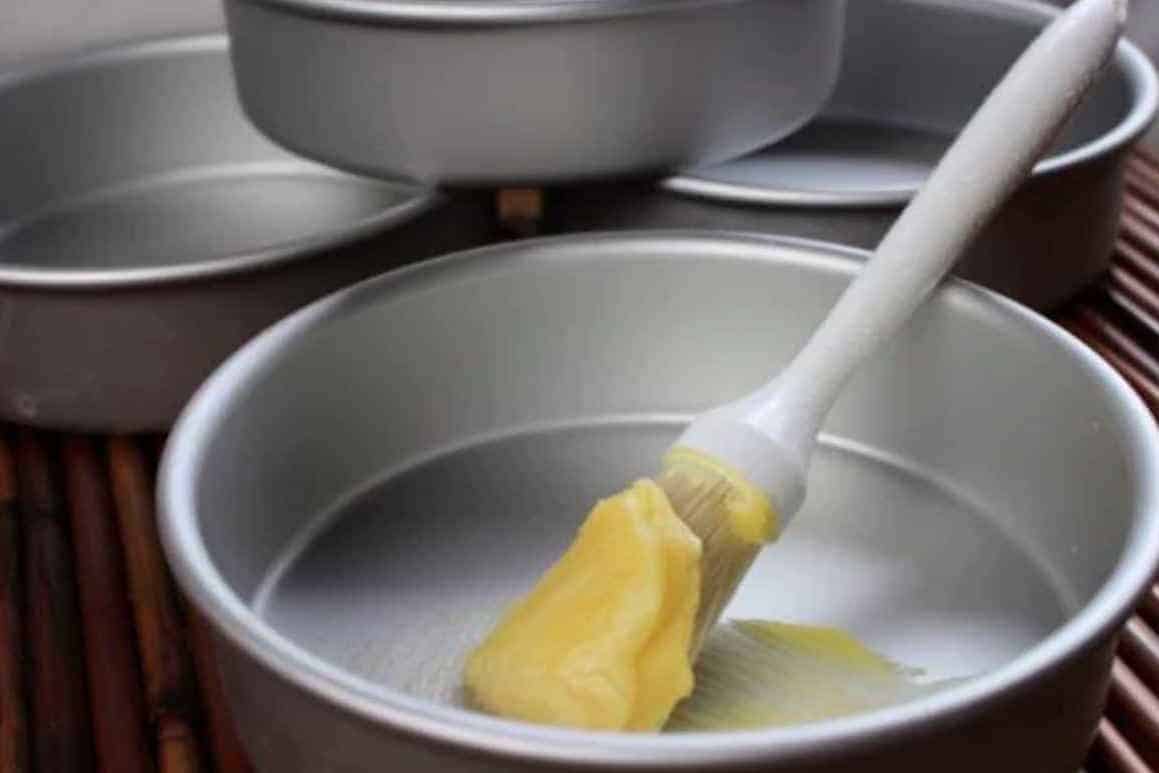
Butter
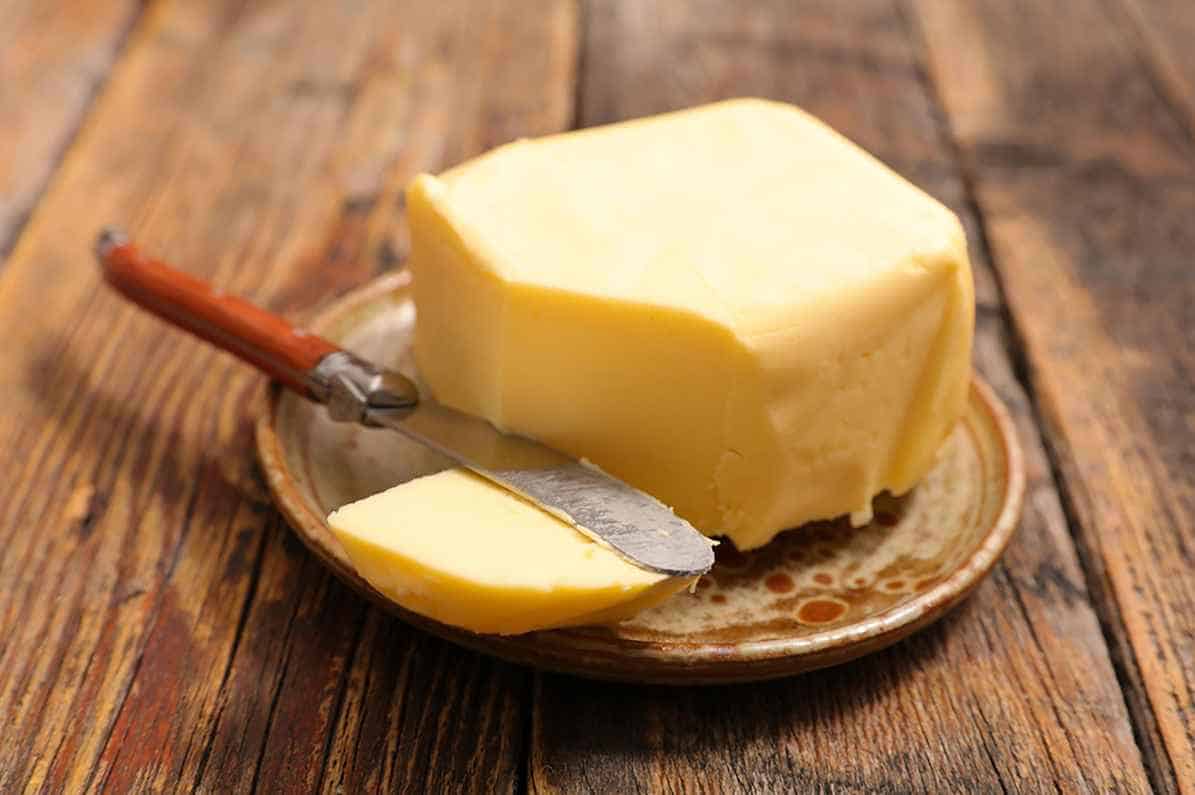
This product is a popular choice for greasing cake pans. It’s rich in fat since its main ingredient is cream. Spreading butter on the cake pan creates a barrier between the pan and the confection, which helps prevent it from sticking.
A delightful bonus is that it adds delicious flavor to your cake! Remember to use unsalted butter so there are no apparent changes in taste.
Shortening
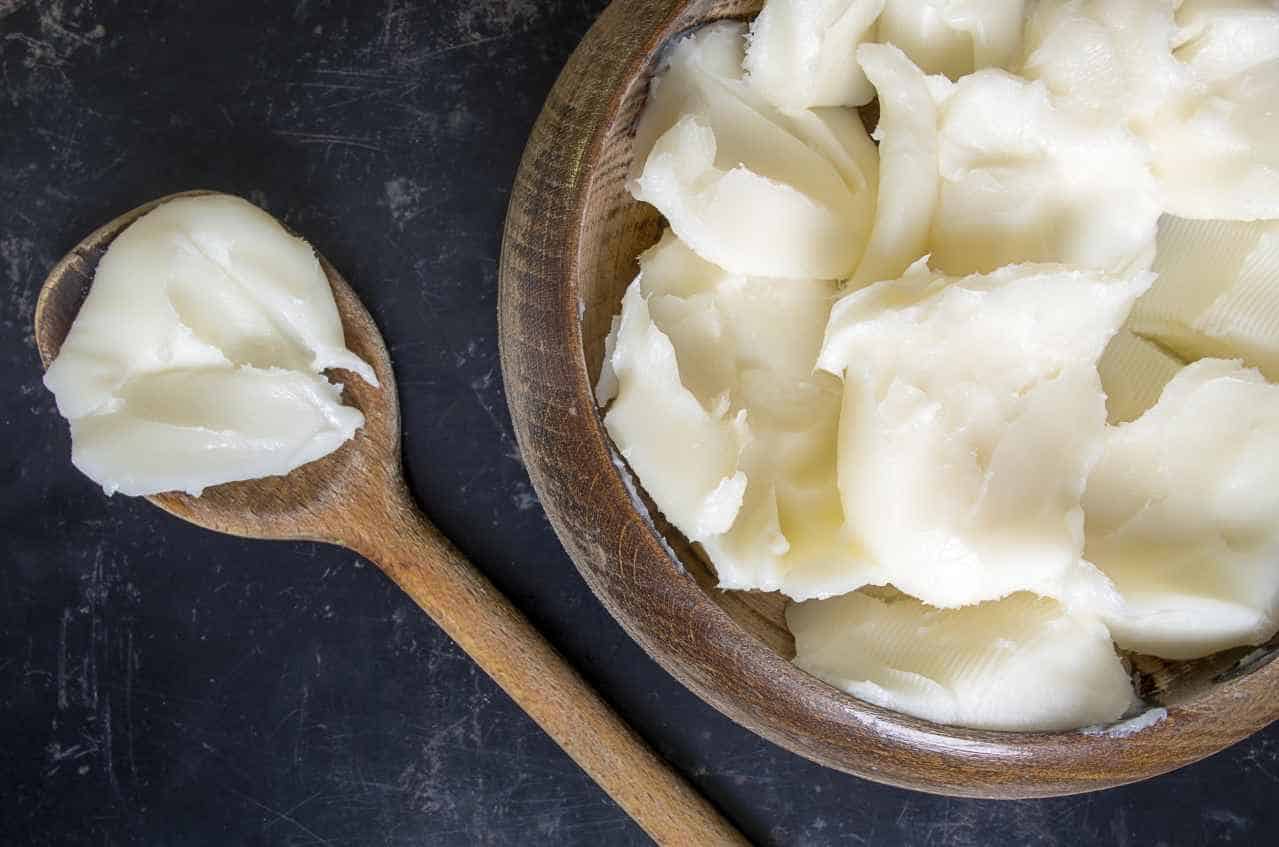
It is a type of fat that is often used in making pies and scones. Its primary element is hydrogenated vegetable oil. It’s solid at room temperature, and the texture is similar to whipped butter, only it’s white.
It also creates a nonstick coating that protects the cake from sticking to the fan. Since it’s flavorless, shortening doesn’t add any taste to baked goods. However, it can help make them extra moist and tender.
Oil
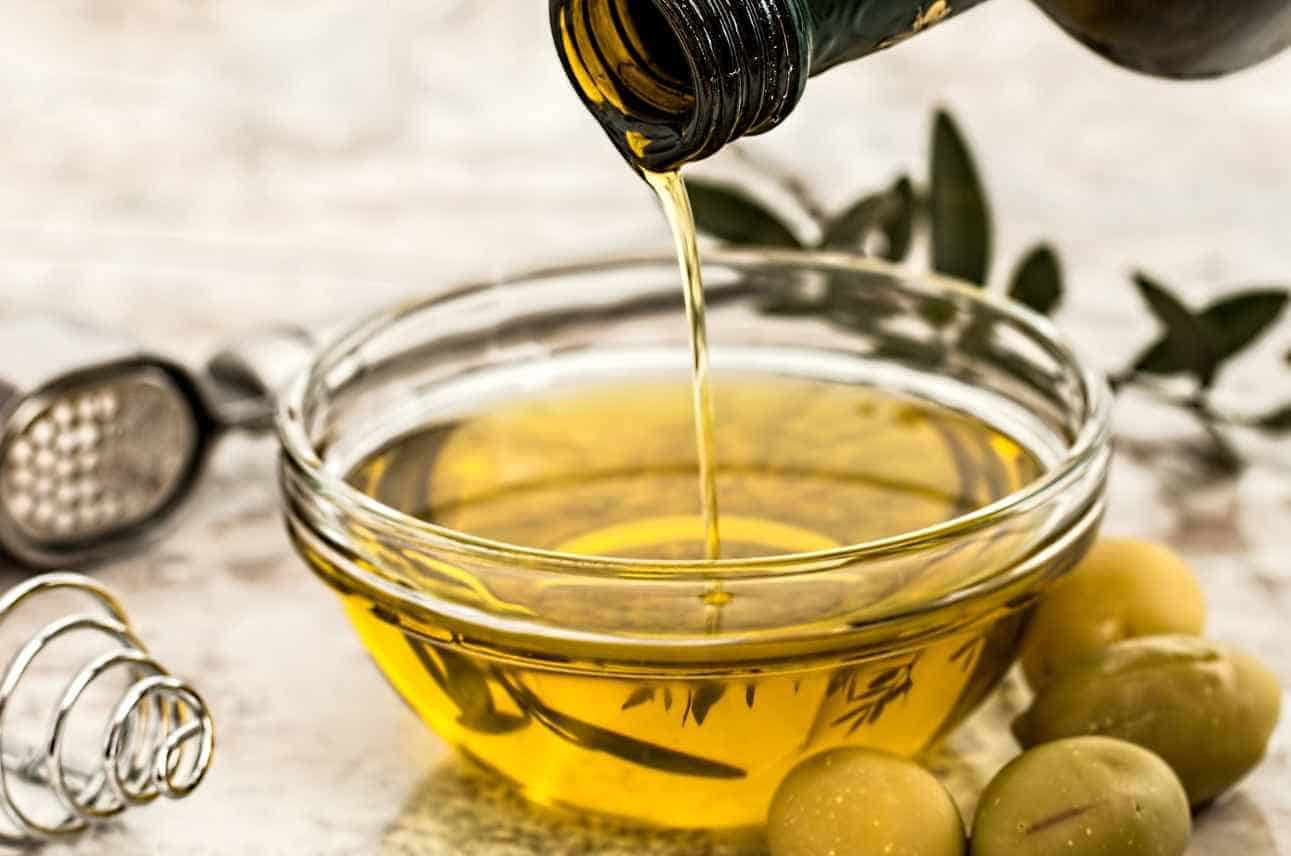
This liquid fat is also a greasing option. You can choose from various oils, including canola, coconut, or olive oil. They may have distinct flavors, so use them sparingly.
They’re easy to apply and create a smooth and even layer of grease on the pan. However, it doesn’t make as much of a barrier as butter or shortening. So it may not be the perfect pick for cakes prone to sticking.
Cooking spray
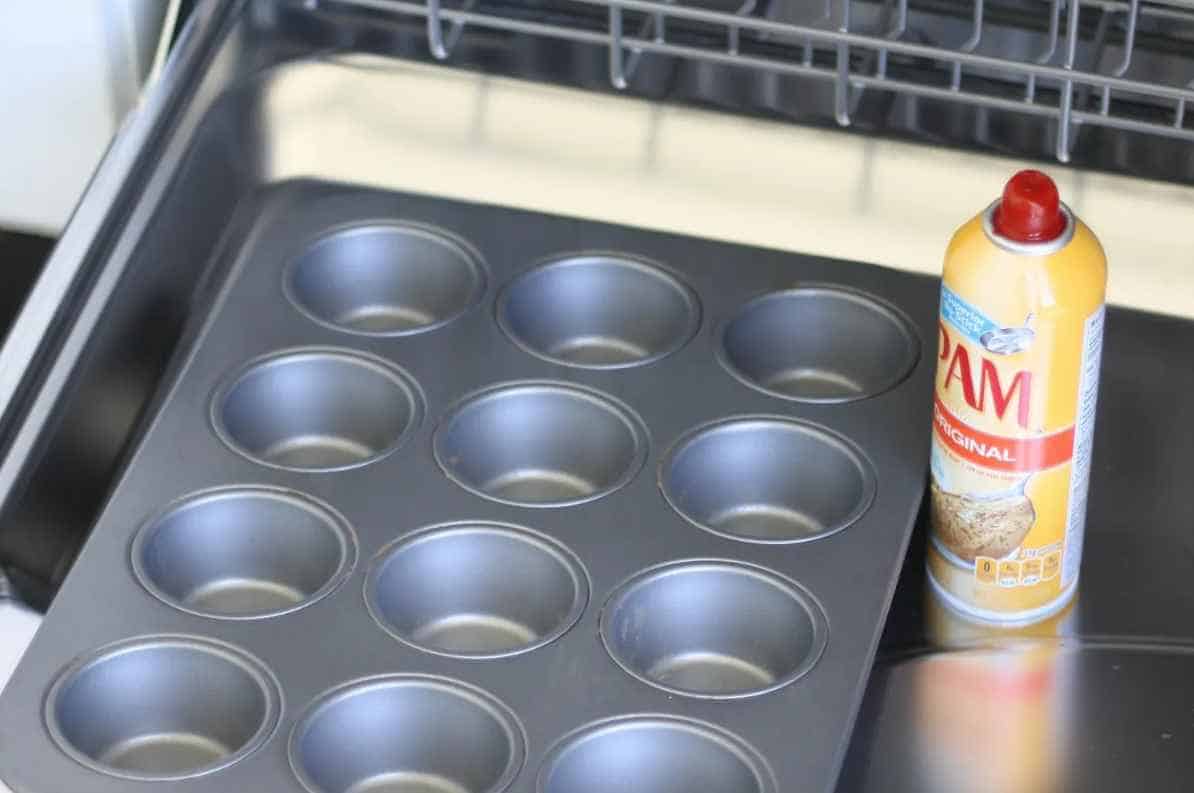
This spray-on oil is a convenient choice for greasing cake pans. They usually come in canola, vegetable, or coconut oil variants.
Some are even flavored with butter or olive oil. It creates a fine mist that coats the baking tin. It’s also quick and easy to use. However, it may provide less protection against sticking than other types of grease.
Using Grease and Flour
Now that we have the types of grease down pat, it’s time to know the best greasing techniques. These steps are easy to follow. You’ll soon have flawless and delicious cakes in no time.
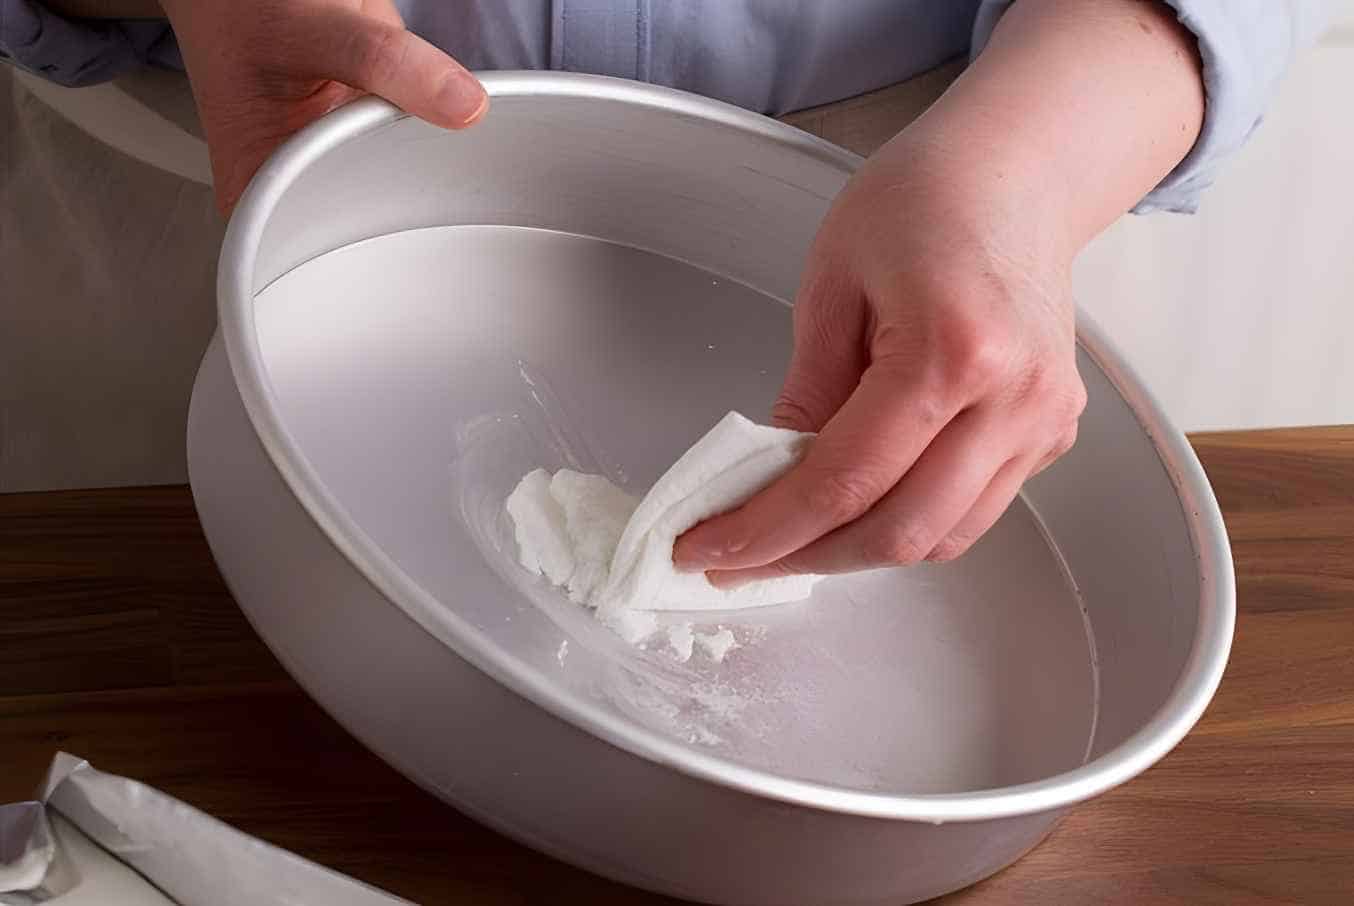
Greasing a cake pan
Greasing and flouring your cake pan creates a non-stick surface to help your baked goods release easily from the tin after baking. This method is excellent for cakes that tend to stick or have a delicate texture.
To start, prepare the following items:
- Cake pan
- Butter or vegetable shortening
- All-purpose flour
- Paper towel or pastry brush
Here are the steps to follow:
- Preheat your oven according to your recipe’s instructions.
- Spread a small amount of grease around the inside of the cake pan with a pastry brush or a paper towel to
- Coat the bottom and sides of the tin evenly, ensuring there are no bare spots.
- Sprinkle a tablespoon of all-purpose flour into the pan, making sure it coats the butter or shortening.
- Shake the pan around to distribute the starch evenly.
- Tap the bottom of the pan to remove any excess flour.
- Dump out any excess powder that did not stick to the butter/shortening, and your pan should be ready to use!
Greasing a Bundt Cake Pan
Bundt cakes have a more intricate shape than other baked goods. It’s more difficult to release it from the pan without sticking. By greasing and flouring, you create a non-stick surface that effortlessly releases the treats.
To grease a Bundt pan using grease and flour, you will need the following items:
- Bundt pan
- Butter or vegetable shortening
- All-purpose flour
- Sifter or fine-mesh sieve
- Paper towel or pastry brush
Here are the steps to follow:
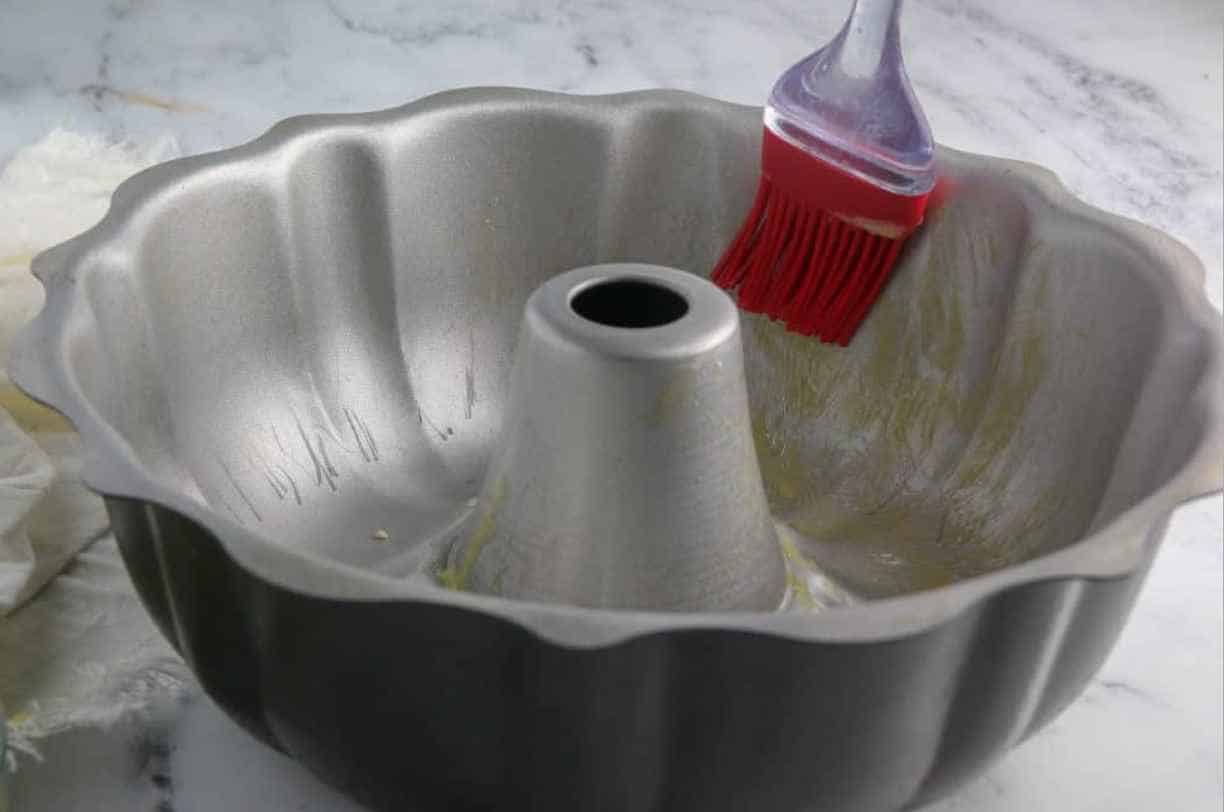
- Preheat your oven following the recipe’s instructions.
- Grease the Bundt pan’s interior with your fingers, a paper towel or pastry brush.
- Coat the pan’s ridges evenly, and ensure no bare spots.
- Sift or sprinkle a tablespoon of all-purpose flour over the butter/shortening in the pan.
- Alternatively, use a cooking spray to cover the pan with a fine mist.
- Tap the pan gently over a sink or trash can to remove excess flour.
- Your Bundt pan is now greased and floured, and ready to use!
Using a Parchment Liner
Have you tried cleaning baking pans with bits of cake stuck inside? It can be a bummer, right? Here’s some good news: you can skip this tedious process by lining your tins with parchment paper.
This product is heaven-sent for professional and home bakers. It prevents your baked treats from sticking to the pan. It also makes cleaning up a breeze. Talk about a win-win scenario.
Lining a Cake Ring
Do you want a masterpiece that not only tastes good but looks good, too? Here’s how you can make your cake ring nonstick.
You will need the following items:
- Cake ring
- Parchment paper
- Scissors
- Pencil
- Ruler
Here are the steps to follow:
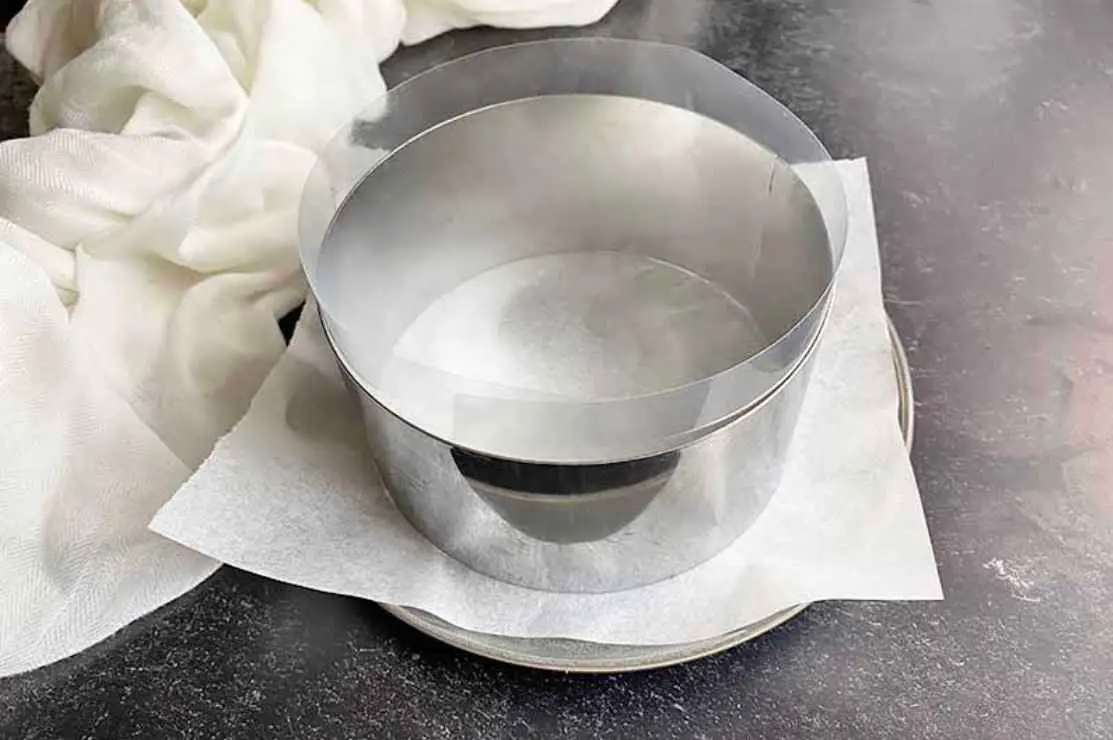
- Lay a sheet of parchment on a flat surface, with the shiny side facing down.
- Place the cake ring on top of the paper.
- Use a pencil to trace the inside and outside edges of the ring.
- Leave enough space around the edges for the sheet to come up the sides of the cake ring.
- Cut out the traced circle.
- Measure the ring’s height and cut a long strip of parchment to match it.
- Wrap the long strip of parchment paper around the cake ring’s inside, ensuring it fits snugly against the sides.
- Use tape or a paper clip to hold the ends together.
- Place the paper circle on the cake ring’s bottom, ensuring it’s centered.
Lining a Cheesecake Tin
A cheesecake is a delicate dessert that needs to be handled with care. Parchment paper serves as a protective coating, so you can remove the pastry from the tin without damaging it.
Here are the steps to lining your cheesecake pan with parchment.
- Trace the bottom of the tin onto the parchment and cut it out.
- Grease the bottom and sides of your cheesecake pan so the paper sticks to the container.
- Place the parchment making sure it is nice and snug.
- Smoothen creases and wrinkles.
- Cut a long strip of parchment paper about 2 inches taller than the sides of the cheesecake tin.
- Place the strip around the inside, ensuring it is centered and sticking to the greased sides.
- Trim any excess paper that extends over the top of the tin.
Frequently Asked Questions
We gathered some common questions about this crucial baking preparation technique.
What’s the difference between a cake pan and a baking pan?
As the name implies, a cake pan is specifically designed for baking cakes. It usually has straight sides and a flat bottom, making it easy to remove the dessert once it’s baked. It comes in various shapes, including round, square, and rectangular.
On the other hand, a baking pan is a general term referring to any vessel used for baking.
It also comes in different shapes, sizes, and materials, such as glass, metal, or ceramic. They can have different types of sides, such as straight or sloping. Aside from cakes, you can also use them for casseroles, bread, and roasted vegetables.
How do you remove the cake from the pan?
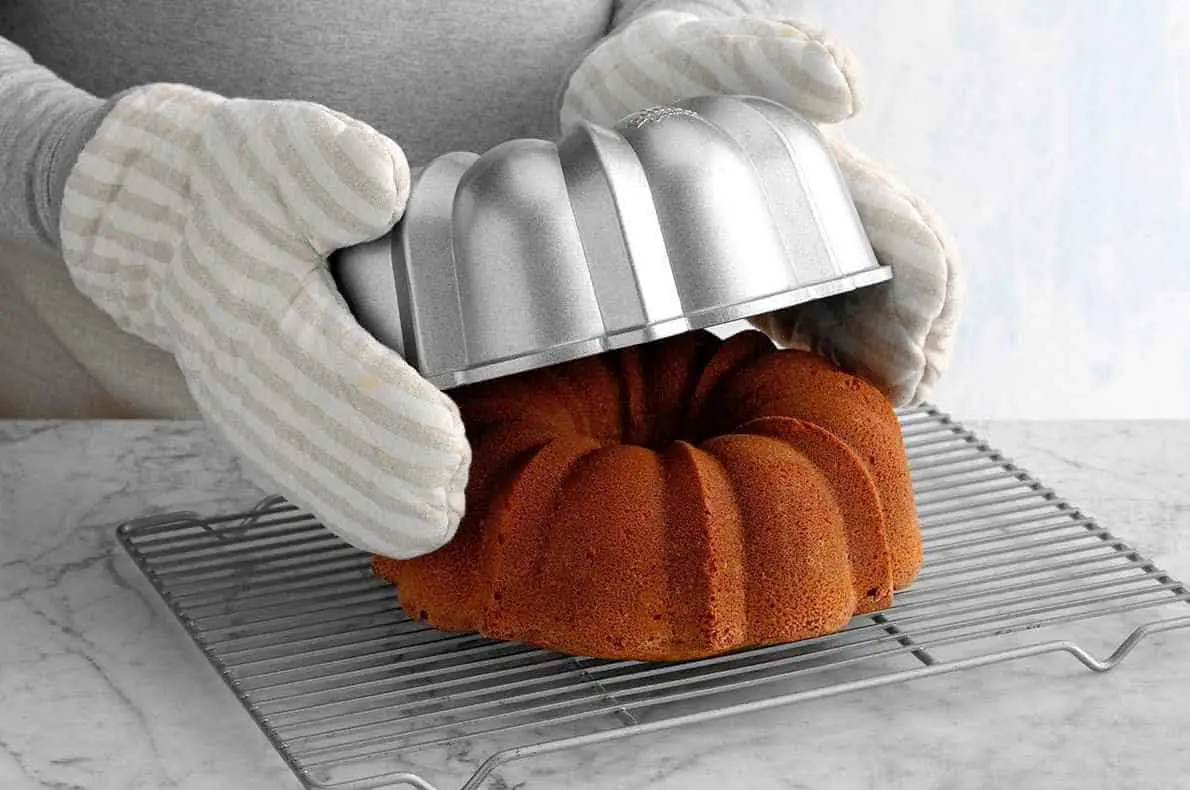
Removing a cake from a pan can be a delicate process. You want to ensure the cake stays intact and doesn’t break apart. First, let the cake cool down to make it firm up. This way, it’s easier to remove from the pan.
Next, run a knife around the edges to separate the dessert from the pan. Then, flip it onto a plate and gently tap the bottom of the pan to help release the pastry. You can also try wiggling it back and forth to loosen the cake. Lastly, lift off the pan carefully.
When shouldn’t you use flour?
While flour is commonly used to grease cake pans, there are certain situations where it might not be the best choice. Here are some instances where you should avoid using this starch:
- When making delicate pastries such as angel food or chiffon cake
- When baking sponge cake or other desserts with a smooth surface
- When producing dark-colored treats, including chocolate cake
- When making baked goods with crunchy outer layers, like a coffee cake with streusel topping.
What will happen if you forget to grease the pan?
In general, forgetting to grease a cake pan is not the end of the world, but it can make it difficult to remove the finished cake and affect its texture and appearance.
Conclusion
Knowing how to grease a cake pan prevents pastries from sticking so you can achieve a perfect outcome. By following these tips, beginners, and experts can achieve non-stick surfaces and excellent baked goods.