Imagine being so excited for your cake or cookies to come out of the oven. Then you discover that they stuck to the bottom of your dish. It’s frustrating, isn’t it?
Well, there’s still hope! We present a simple solution to this problem – knowing how to grease your baking pan. Keep on reading to get the skinny on having flawless baked treats.
Greasing Your Pan with Butter
This method is the most common. It’s crucial because it prevents your baked goods from sticking to the bottom and sides of your baking dish. Heat can turn sugar and gluten sticky. So, if you’re using these ingredients, grease is non-negotiable.
Applying shortening also acts as a barrier between your cake and the pan. They can slide right out once they’re done baking. They’ll look impeccable, too.
Step One: Ready, set, grease!
You can use a stick or a tub of butter. You want it to be soft enough to spread without effort. Keep a close eye on it so it won’t melt and make a gooey mess.
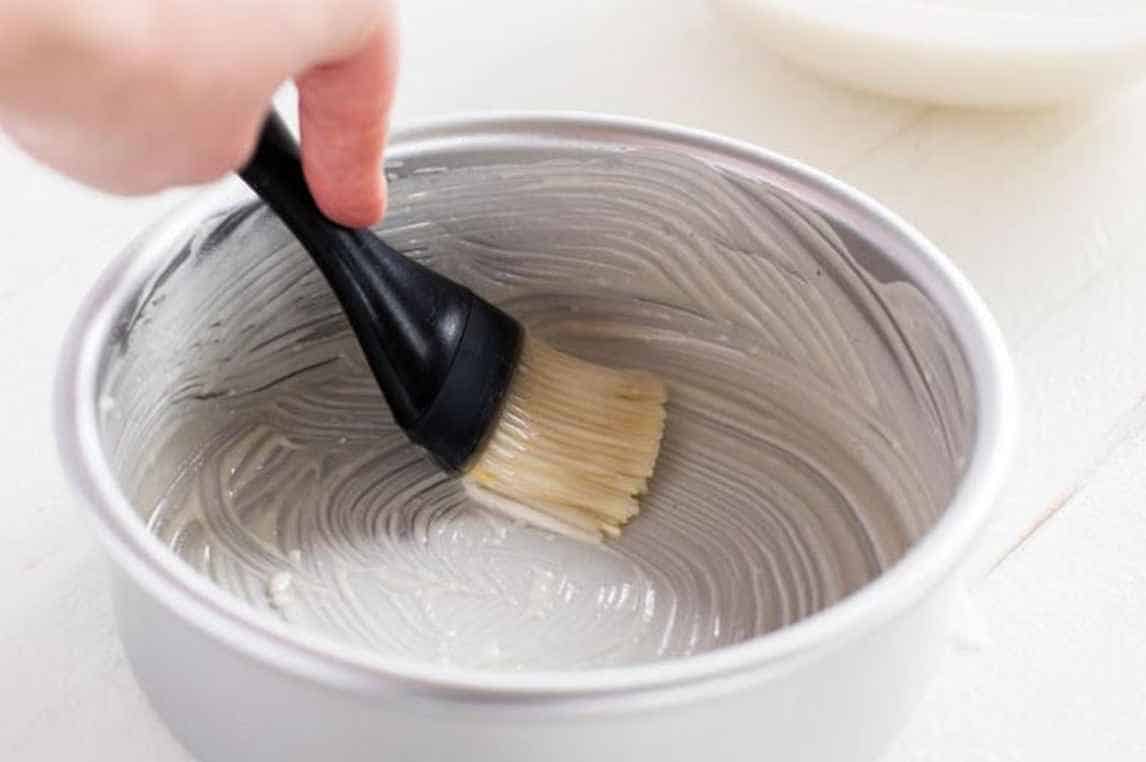
Step Two: Spreading some (butter) love
Take a small piece of butter and rub it all over the bottom and sides of the pan. You can also use a paper towel, your fingers, or a pastry brush to spread it around.
Step Three: Aim for the details
Make sure you get all the corners and edges, so nothing sticks. You don’t want any part of the pan to be dry.
Helpful Tips for Greasing Your Pan with Butter
These tips will help you grease your pans with butter like a pro! We’ve asked a few baking gurus and home bakers for ideas on keeping your desserts from sticking.
- Use the right amount of butter: You don’t need to use a lot of butter to grease a pan. But you also don’t want to use too little. A good rule to note is to use about a tablespoon per 9-inch pan.
- Get into all the corners: Make sure you get the butter into all the corners of the pan. If you miss a spot, your baked goods might stick there and be hard to remove.
- Add starch for some recipes: Some recipes call for flour to be added after you’ve greased the pan with butter. You may also add cocoa powder or sugar, depending on the recipe
Greasing a Pan Using Liners
What if you want to avoid using butter in greasing your pan? Or perhaps you ran out of it? You should check your cupboard for the following alternatives.
Cupcake Liners
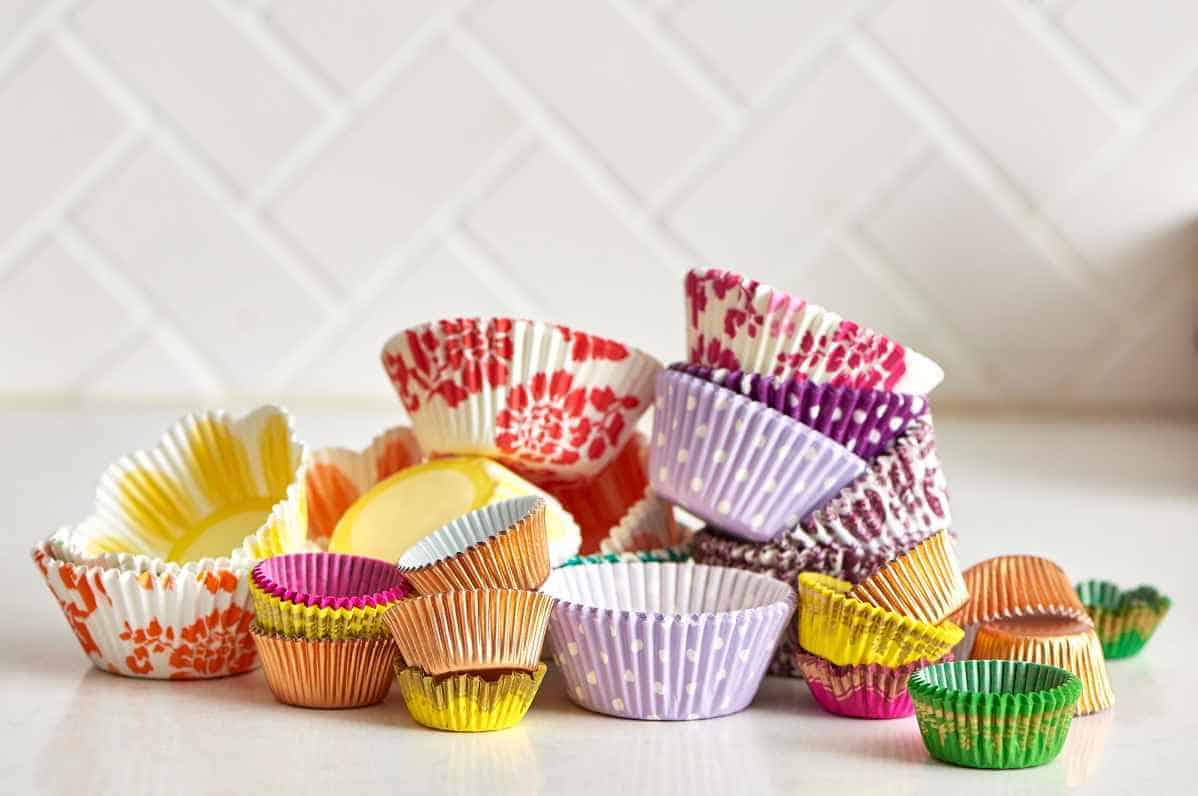
These paper cups fit into muffin tins. They create a nonstick surface, so you don’t need to grease it with butter. They easily peel off when you’re ready to eat the cupcakes.
Baking Parchment
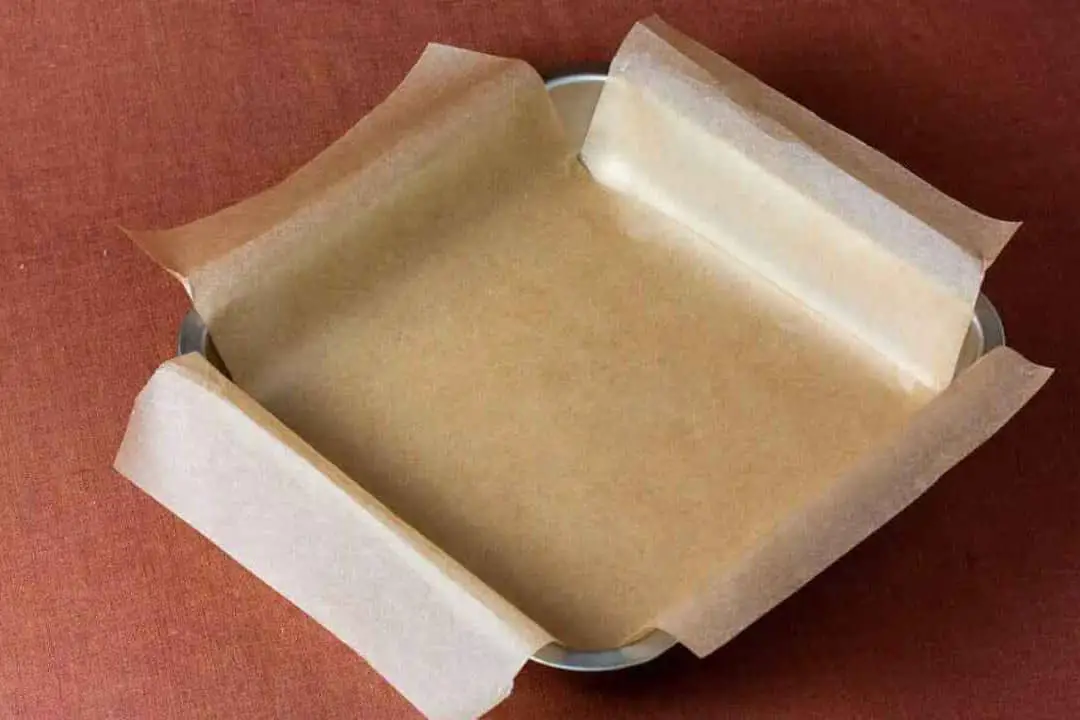
This material is another excellent option. It’s a thin, nonstick paper that you can use to line cookie sheets or cake pans. You don’t need to apply grease when you use it. Once the desserts are cooked, you’ll notice that they easily peel off the pan.
Silpat Mat
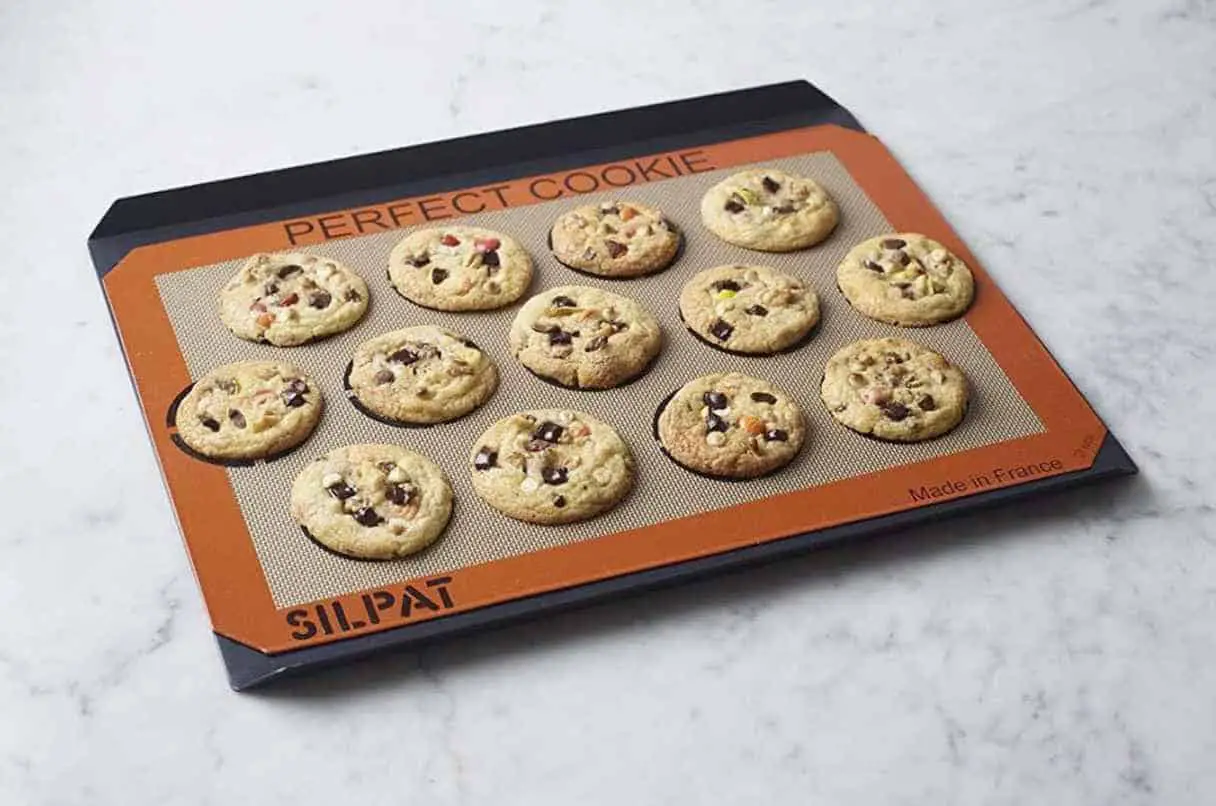
This nonstick mat is made of silicone. It’s a type of rubber-like material that’s heat-resistant and flexible. You can place it on a cookie sheet or inside a baking pan. Then you place your dough or batter on top.
You can reuse it several times, so plus points for the environment. They’re also easy to maintain. You can clean them with a damp cloth or put them in the dishwasher.
Helpful Tips for Using Baking Liners
Do you want your baked goods to come out perfectly? Here are some tips to help you churn out bakery-quality treats.
Use the right size
When using these nonstick materials, ensure you use the right size for your baking sheet or pan. If the liner or mat is too big, trim it with scissors. Remember that your baked goods might not cook evenly when it’s too small.
Adjust the baking time
If you decide to use these tools, you might need to adjust the baking time for your recipe. The liner or mat can create a barrier between the pan and your baked goods. It can affect how long they take to cook.
Follow the recipe instructions
Ensure you follow the recipe instructions for baking liners, parchment, or Silpat mats. Some recipes call for you to grease the baking dish with butter first.
Don’t reuse liners or mats
Baking liners and parchment are usually designed for one-time use, so don’t try to reuse them.
Pour the batter carefully
Gently place your dough or batter on top. You want to avoid tearing the liner or mat, making it less effective at creating a nonstick surface.
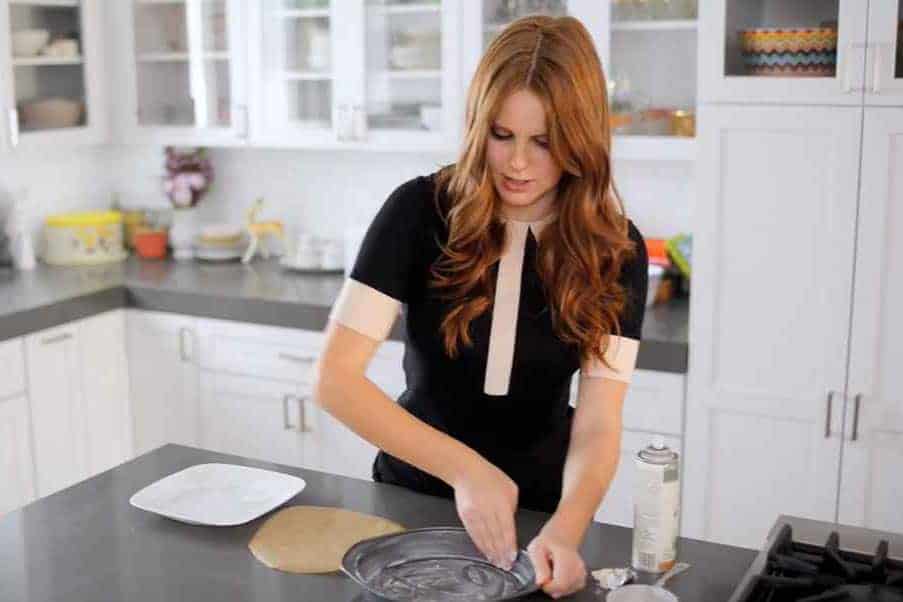
Using a Nonstick Baking Spray
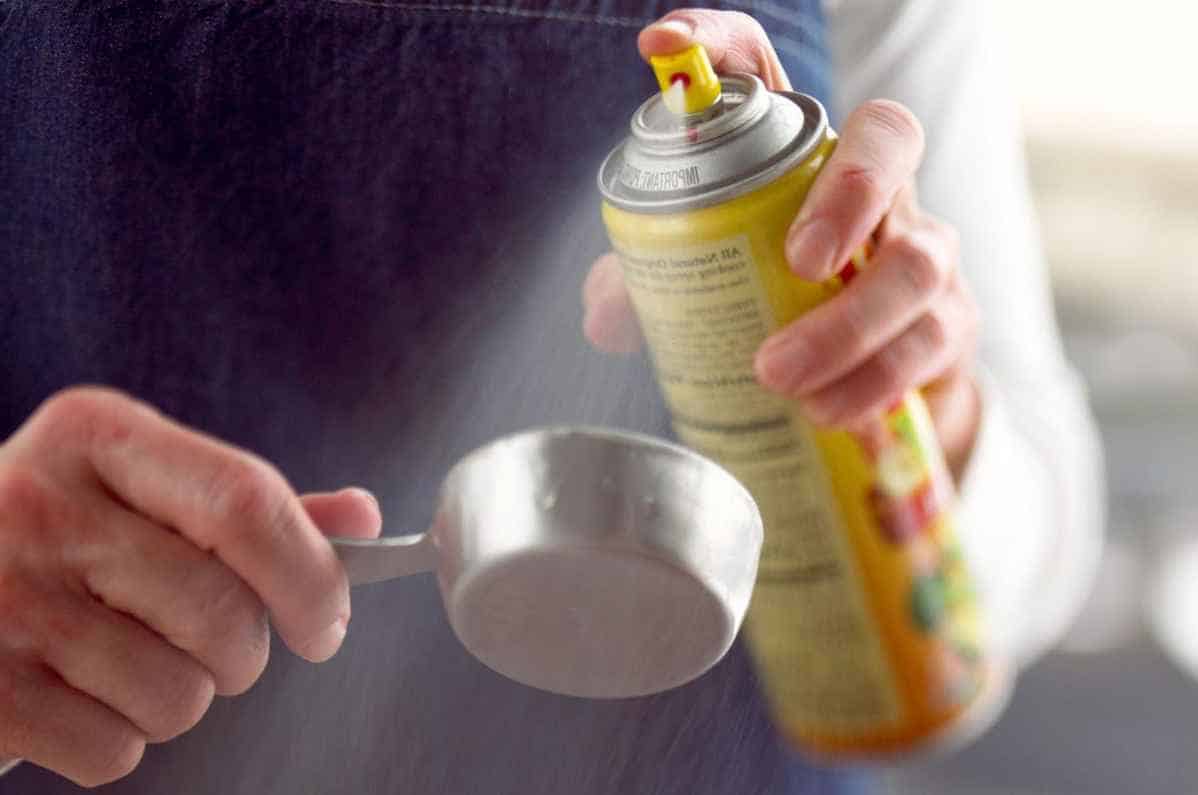
Have you seen how celebrity chefs make their cakes? Most of the time, they use baking spray. It’s a well-loved method and a great alternative to greasing a pan with butter for a few reasons. It’s a handy product that deserves pantry space, especially if you love baking.
These sprays come in canola, coconut oil, and gluten-free variants. Supermarkets are teeming with these precious baking helpers so they’re so easy to find.
It’s convenient
It is a convenient and easy way to grease your pans. Instead of using butter and a paper towel, spritz it all over your baking dish. It will be your lifesaver when you’re baking tons of goodies for business or loved ones.
It has added ingredients
The extra ingredients help your treats come out perfectly. For example, most of them have flour. It helps prevent your cakes from sticking to the pan. They also often contain lecithin, which helps to create a nice, even coat.
It saves time
Baking sprays can save you time and make cleaning up easier. When you use butter to grease your pans, there’s a big chance you’ll end up with a sticky mess on your hands. We all know that cleaning a baking apocalypse can be a bummer. Of course, you’d rather eat your brownies than wash piles of dishes.
Helpful Tips for Using Baking Spray
If you’re new to the baking spray game, you’ll find these tips handy.
Spray at a precise distance
When spraying, position the can about 6-8 inches away from the pan. It’ll help ensure an even coating and prevent clumps or puddles.
Cover all surfaces
Ensure to blanket the entire surface of the pan with oil. Remeber to include the sides! It will help prevent your baked goods from sticking.
Shake it, baby!
If you’re using a nonstick baking spray containing flour, shake the can well before using it. It’ll help ensure that the starch is evenly distributed.
Dry it out
Let the spray dry on the pan for a few seconds before adding your batter or dough. It’ll help the grease adhere to the baking dish. By doing this, you can remove your dessert with one swoop.
Read the label
Understand and follow the instructions on the can. Different brands may have slightly varied recommendations for how to use their product.
Frequently Asked Questions
We’ve gathered some questions relating to greasing the baking pan with butter. You might have the same pressing inquiries on your mind.
Is it okay to use olive oil to grease a pan?
Yes, it is okay to use olive oil to grease a pan. It’s healthier than butter and has a milder flavor. Use a small amount and spread it evenly using a pastry brush or paper towel. Due its low smoke point, it can start to smoke and burn at high temperatures. So, use it only for recipes requiring a lower temp.
Do you still need to grease a nonstick pan?
Even though a nonstick pan is designed to prevent food from sticking, you may still need to grease it before cooking. Yes, it has a special coating on the surface that helps baked goods slide off easily.
However, it can wear off or become scratched over time, causing cakes and cookies to stick to it. Adding a little bit of oil or butter before cooking is a good idea.
Do silicon baking pans need to be greased with butter before baking?
You don’t need to grease silicon baking pans with butter or oil before using them. These colorful gadgets are created to be nonstick. However, some silicone pans may require you to lightly grease them before use. It’s crucial to read the instructions before getting started.
What will happen if you don’t grease your baking pan?
If you don’t grease the pan, the baked goods may stick to the surface and be difficult to remove. It can cause the dessert to break or tear. It would be such as shame when this happens. All your hard work may go down the drain.
If food sticks to the baking dish, cleaning up can be challenging. You may need to soak the pan in water or scrub it with a sponge to remove stuck bits. Surely, you don’t want the additional work.
In some cases, not greasing your baking pan can also affect the outcome of your confections. For example, bread or cake may not rise properly if it sticks to the dish’s sides.
Conclusion
Learning how to grease a baking pan is pretty straightforward. But it’s an important step that ensures the quality of your baked goods. By using the right materials and ingredients, plus some careful attention, you can have the perfect pastries every time.